Hello darlings,
fall is the part of the year when I enjoy crocheting the most! It's always nice to have time to sit on your couch and crochet a warm blanket, a beanie, or a couple of dozes cup cozies! Only this year I am not alone. Nope, this year I have company near me on the couch! A little furry mister called Mini the cat. I've wrote all about him here but I am not sure if I stressed out how much of a yarn thief this little guy is! He is going into battle as I write these lines with one of my crochet bows! I mean he LOVES to play with it!
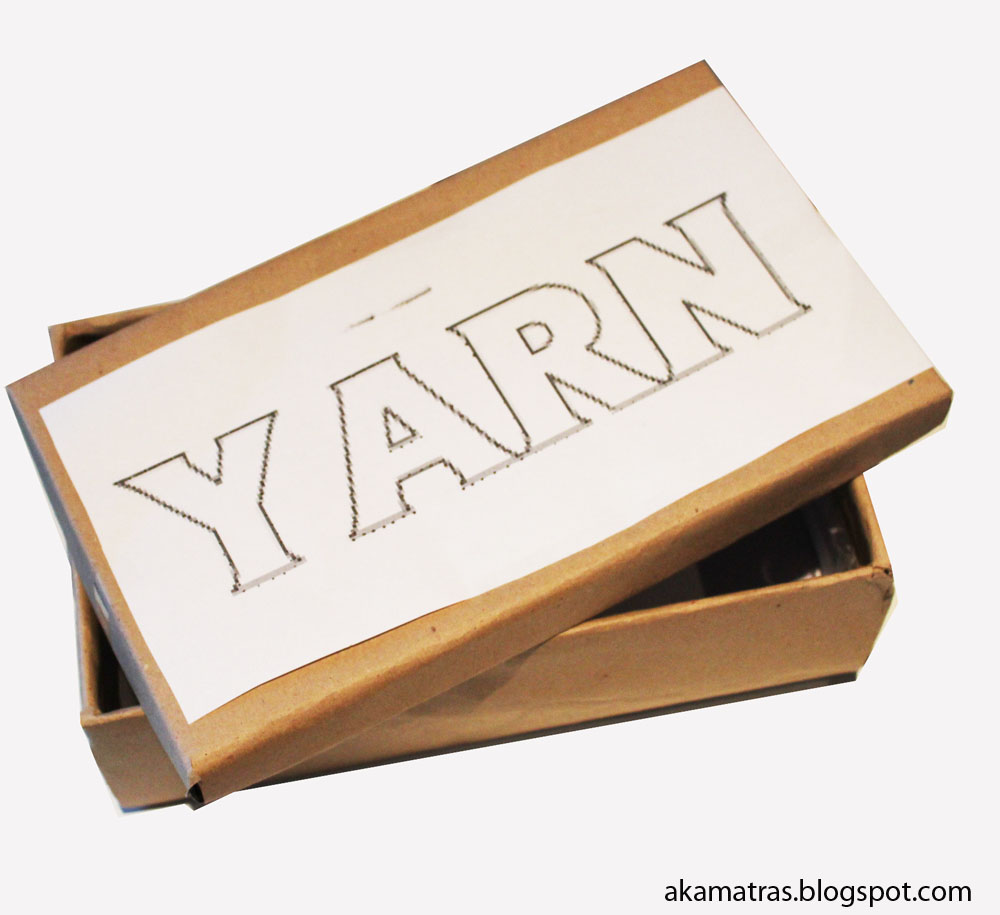
However I have a business to run and I can't have cat hair all over my crochet items. So I decided to protect my yarn and make a yarn box. It's not really hard at all, the end result is awesome and it really helps with graph afghans (I'll tell you all about those in another post).
See below for a full tutorial on how to make a yarn box to help you with your graph afghans in no time!
A shoe box (I love to recycle). You can use any other paper box you have but make sure the lid is not to thick so that you can make the holes for your sign. Mine was a simple shoe box that I first covered in craft paper.
A printed copy of the word yarn in any block font you want. My box was roughly the size of an A4 so that worked out well.
A pin with a round head to make the holes.
A yarn needle
Yarn for the embroidery. I actually used yarn and not thread.
Hole puncher
Eyelets and eyelet puncher
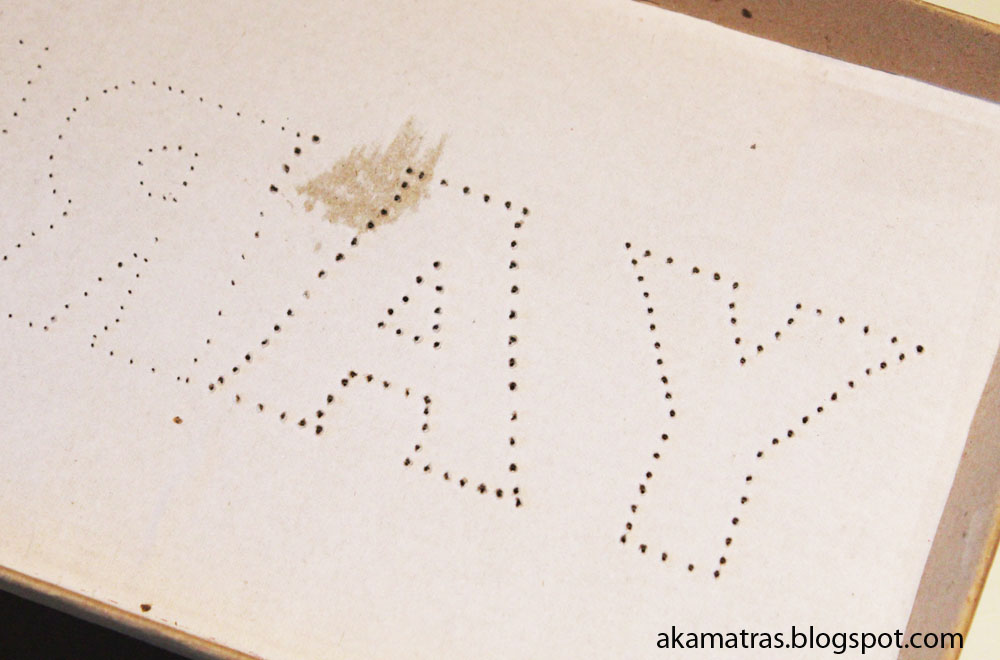
The principle is very easy. Tape the A4 printed paper on the lid of your box.
Using your pin make holes along the lines of the letters. Don't make them too far apart if you are going to use thread but make them 7-8mm apart if you are going to use yarn cause it's thicker.
Once you go over all the letters lift the paper. You should now have an easy outlined hole design to follow.
My dear friend Anna from InMyCloset was actually my inspiration about the lid of the box. She made something similar with cross stitching that you can find here. She has excellent directions for you to follow.
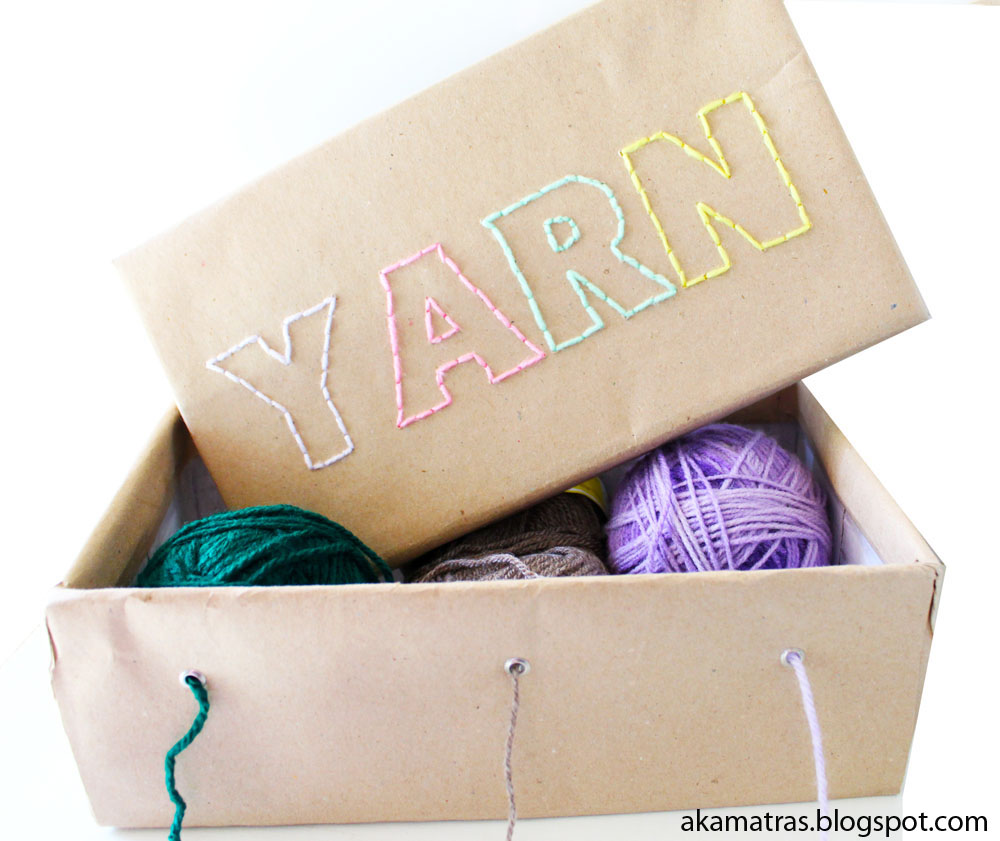
Now choose your yarn colors and stitch away! I used a simple backstitching stitch.
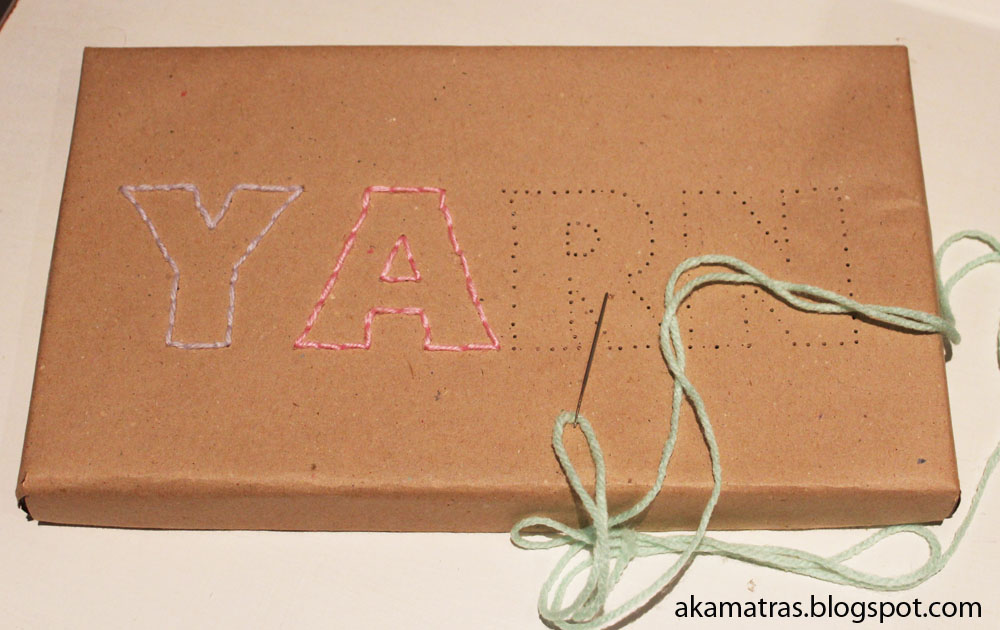
Please excuse the quality of these photos, it was late an night at the time.
Once your lid is done then you move on to the bottom part of your box. The size of my box is perfect for 1-3 100gr skeins at a time. So I put them in and marked where their center lay in the box. I made a mark of the box side and then a hole with my puncher. I then installed eyelets on all three holes. That way both your yarn and the box are protected.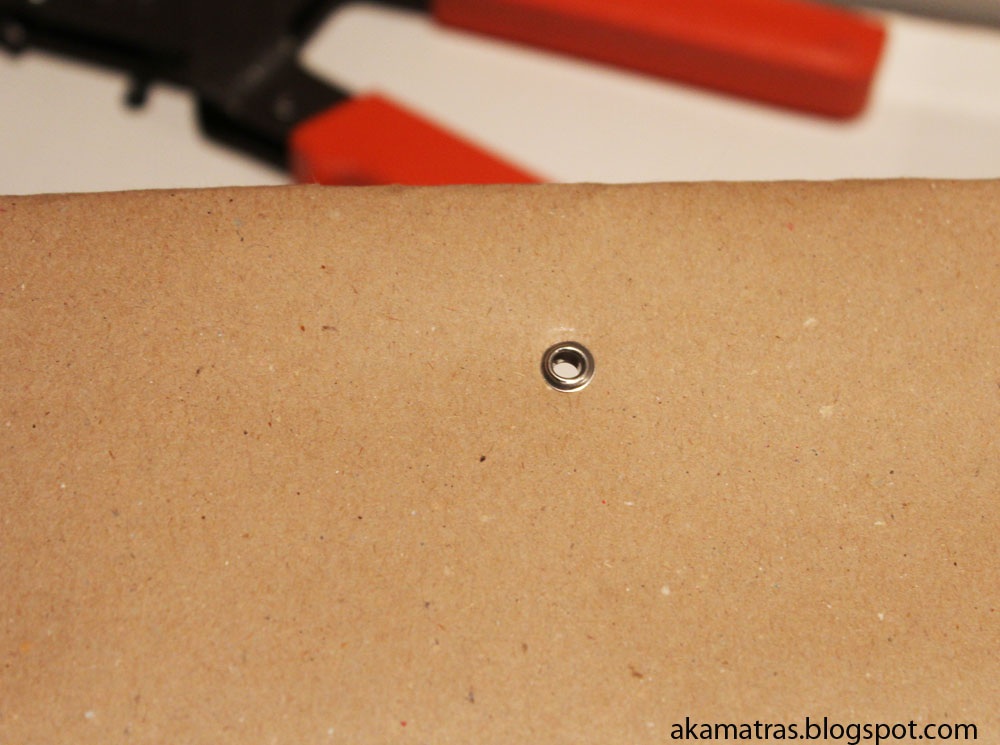
I only made holes on the one side of the box. However if you are going to be using this method to crochet (or knit) a graph afghan you may need more depending on how many colors of yarn and what kind of graph you are using.
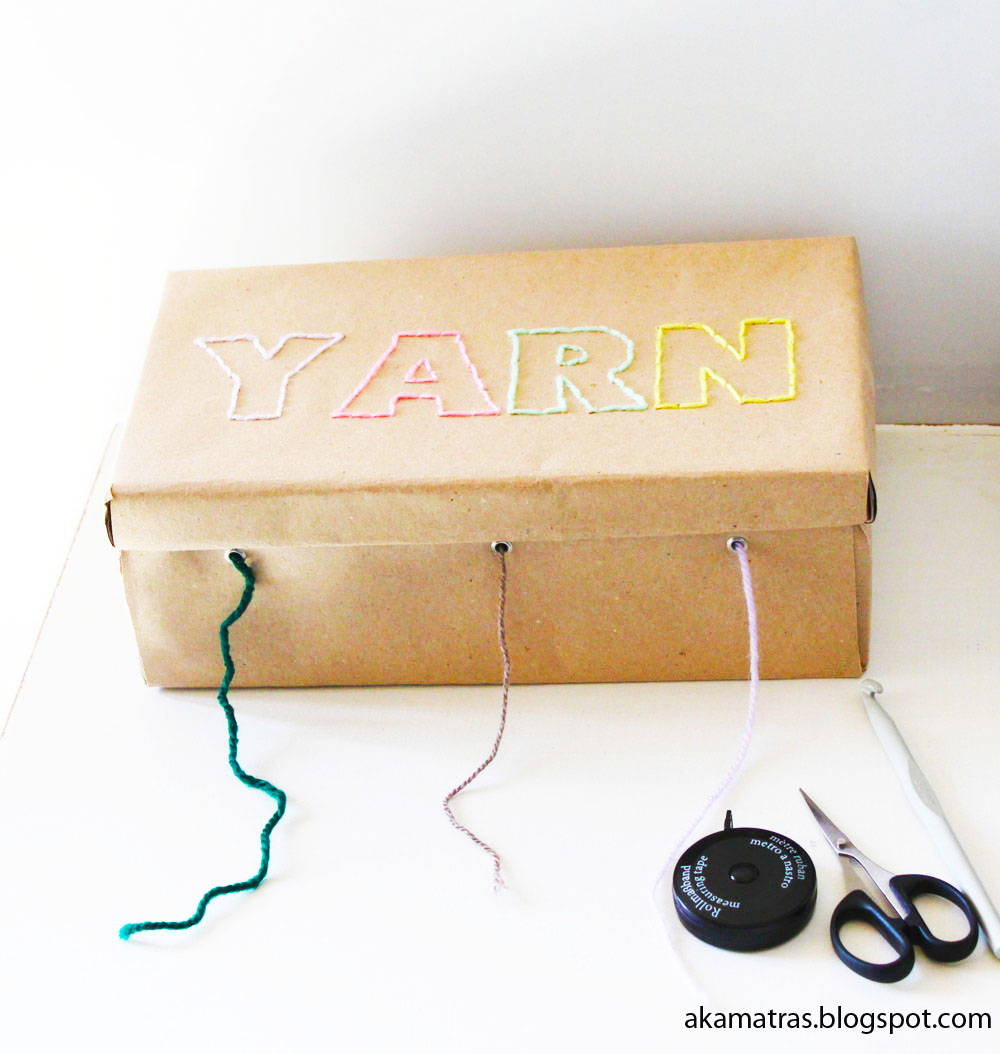

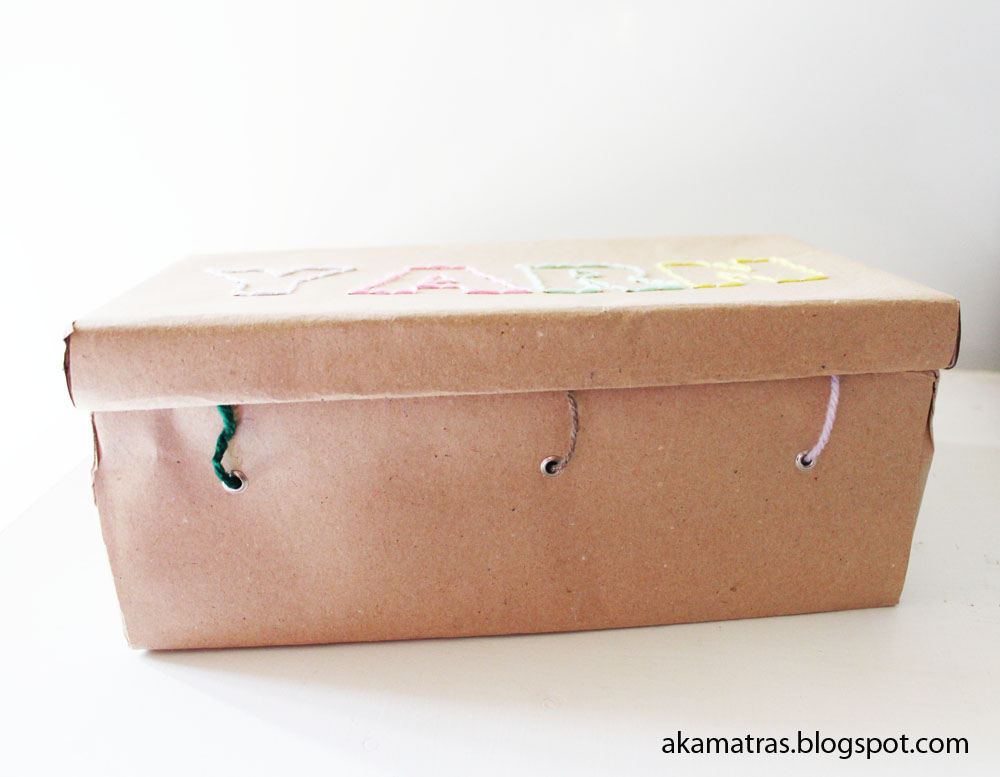
Best part about this box is that once you finish for the day you can tack your yarn ends inside without trouble and put the lid on it (pun intended).
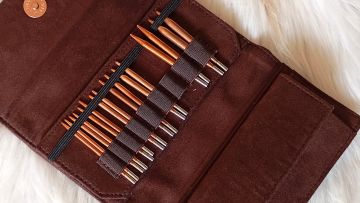
It's also convenient to gather all your crochet hooks and scissors in one place and never misplace them. I know I needed that!
The only one who doesn't seem to like the box is Mini the cat, lol!
So, how about it? What do you do to keep your yarn from unwanted hands and paws?