Hello sweeties
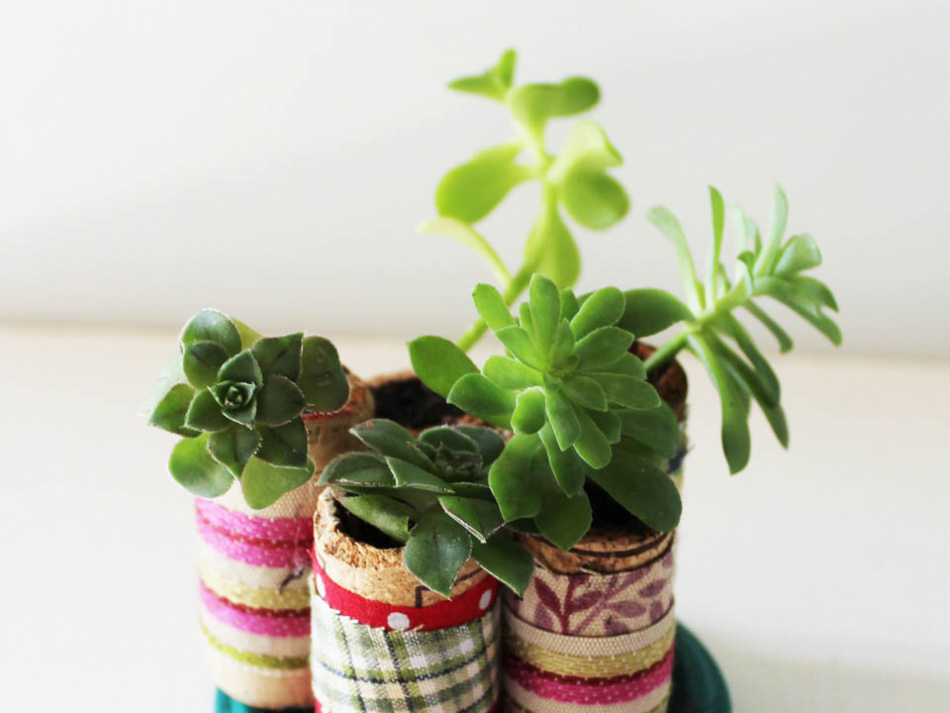
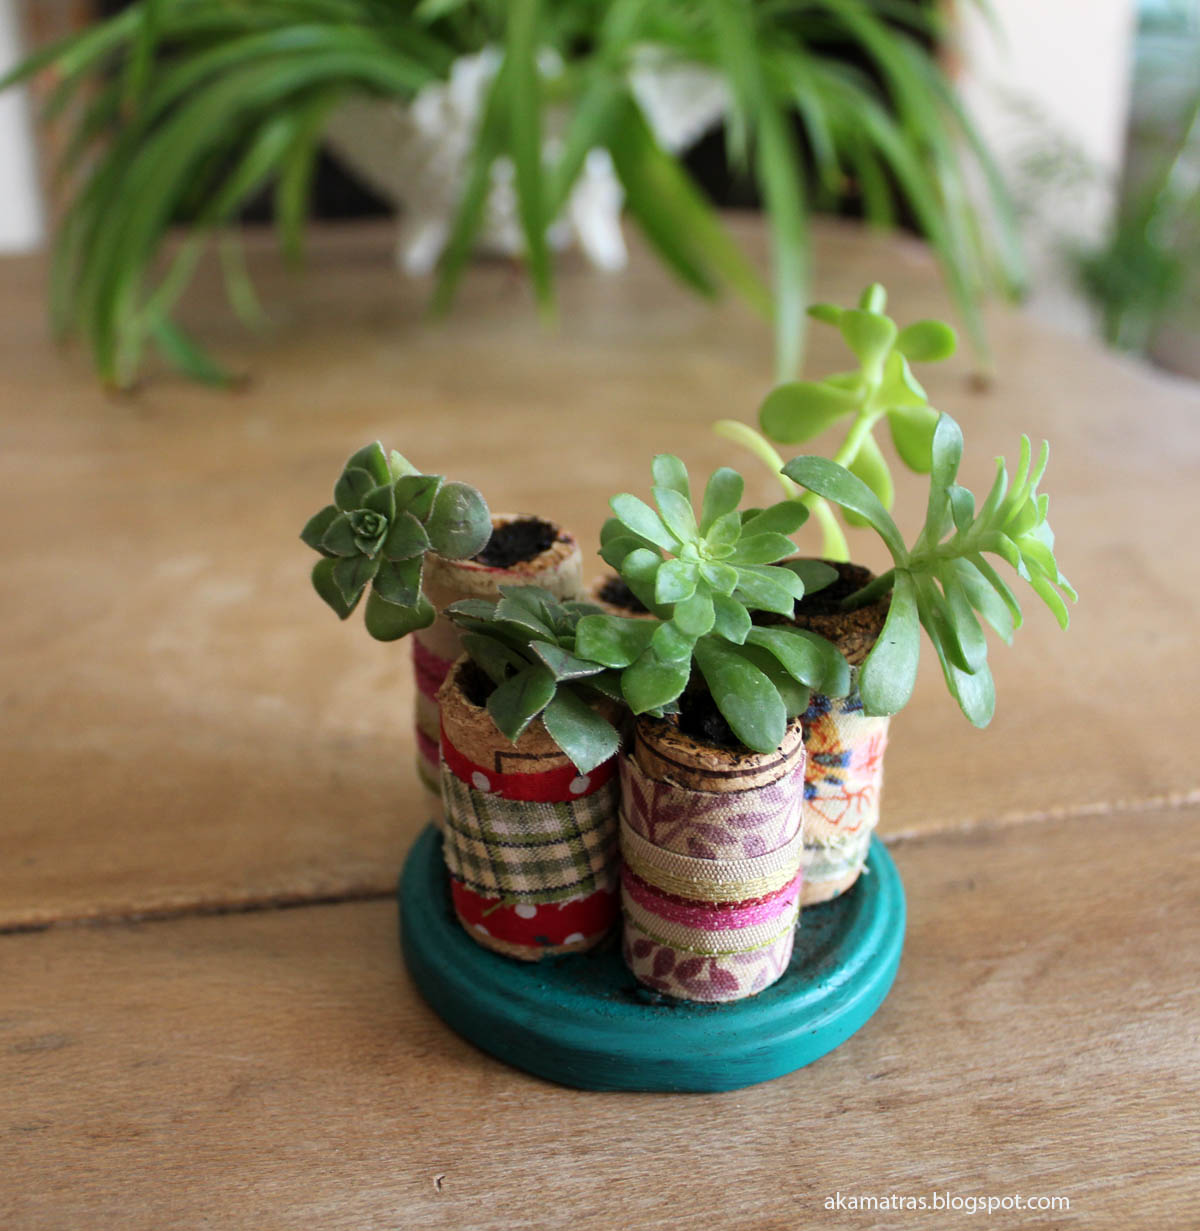
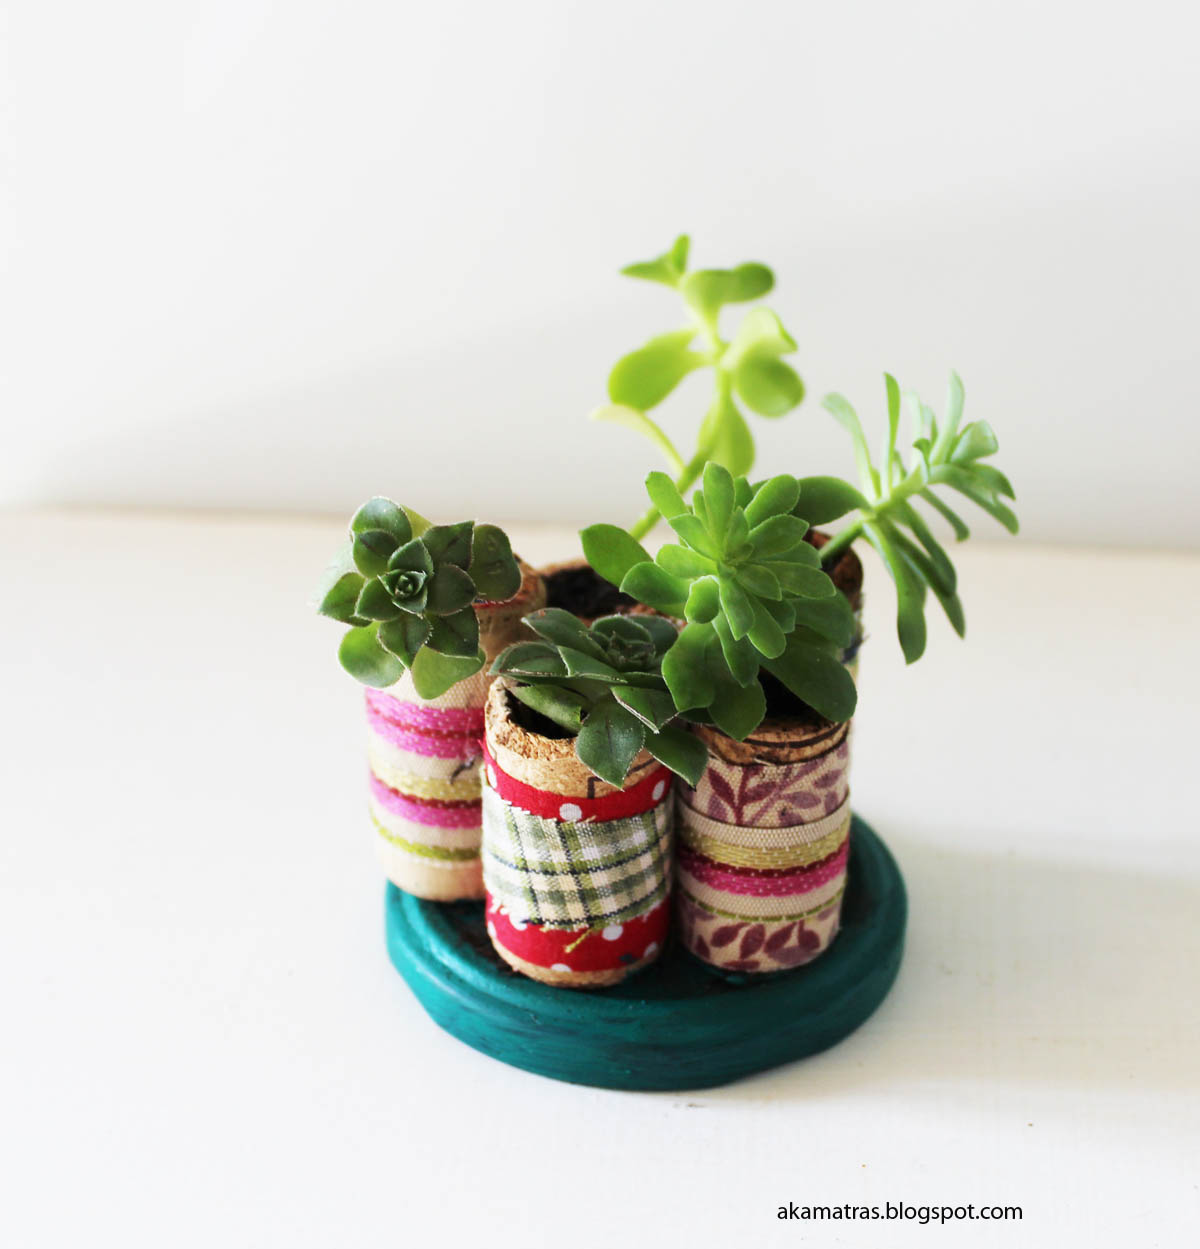
If you are a pinterest addict like me I am sure you’ve seen these cute little cork planters around. They are so cute filled with succulents! I fell in love with them as soon as I saw them and knew I had to make some. Of course I made more than my share but how’s counting?
This is a first class recycling project since you are going to be recycling:
1. Corks.
You know you have a drawer in the kitchen full of them and you’ve never come around making anything when you know you want to!
2. Glass jars metallic lids.
Another drawer-filler! They are kinda like socks. You can never be sure you have their match! Can you?
3. Fabric scraps.
My favorite of all! I DO NOT throw away any itchy bitcy tiny scrap. EVER. This project is a great scrap buster!
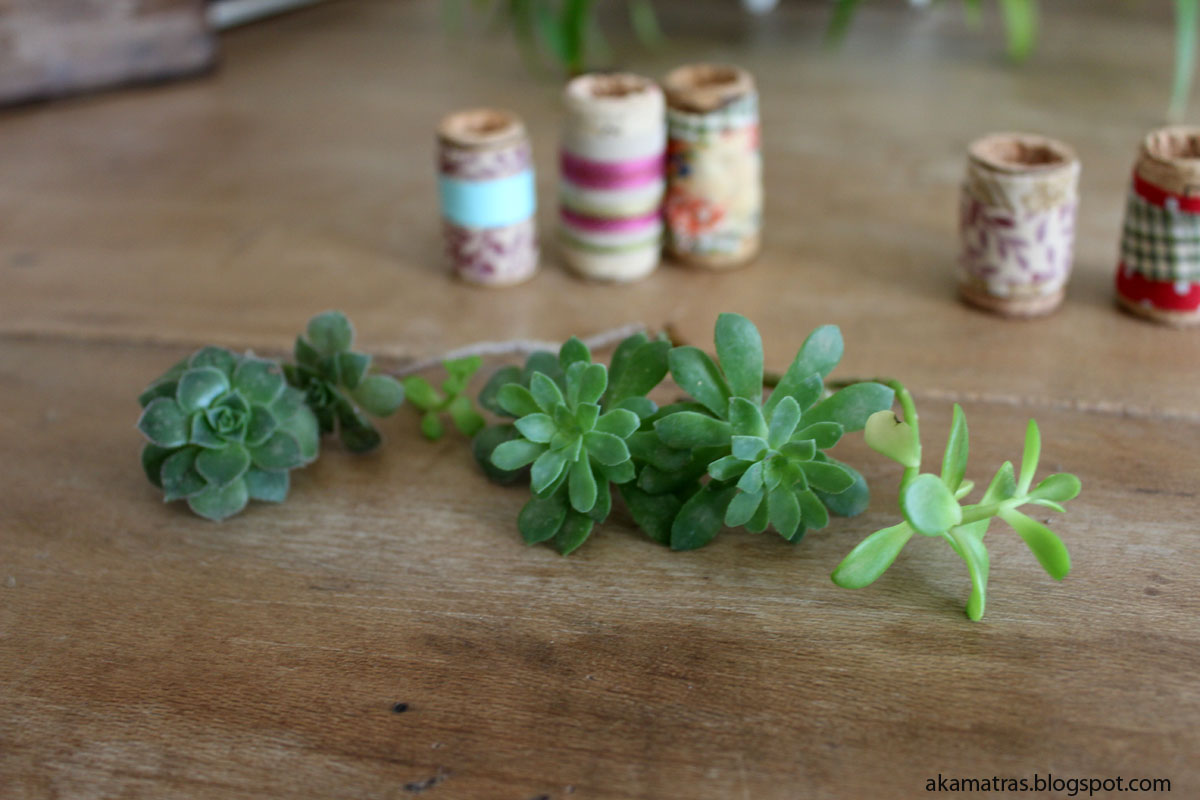
4. Broken succulent’s pieces.
Every time I plant a succulent, there are these small little pieces that rebel and come apart of the plant. Does this ever happen to you? I feel so sorry about them (childhood issues – I took the ugly duckling by heart you see) that I never throw them away!
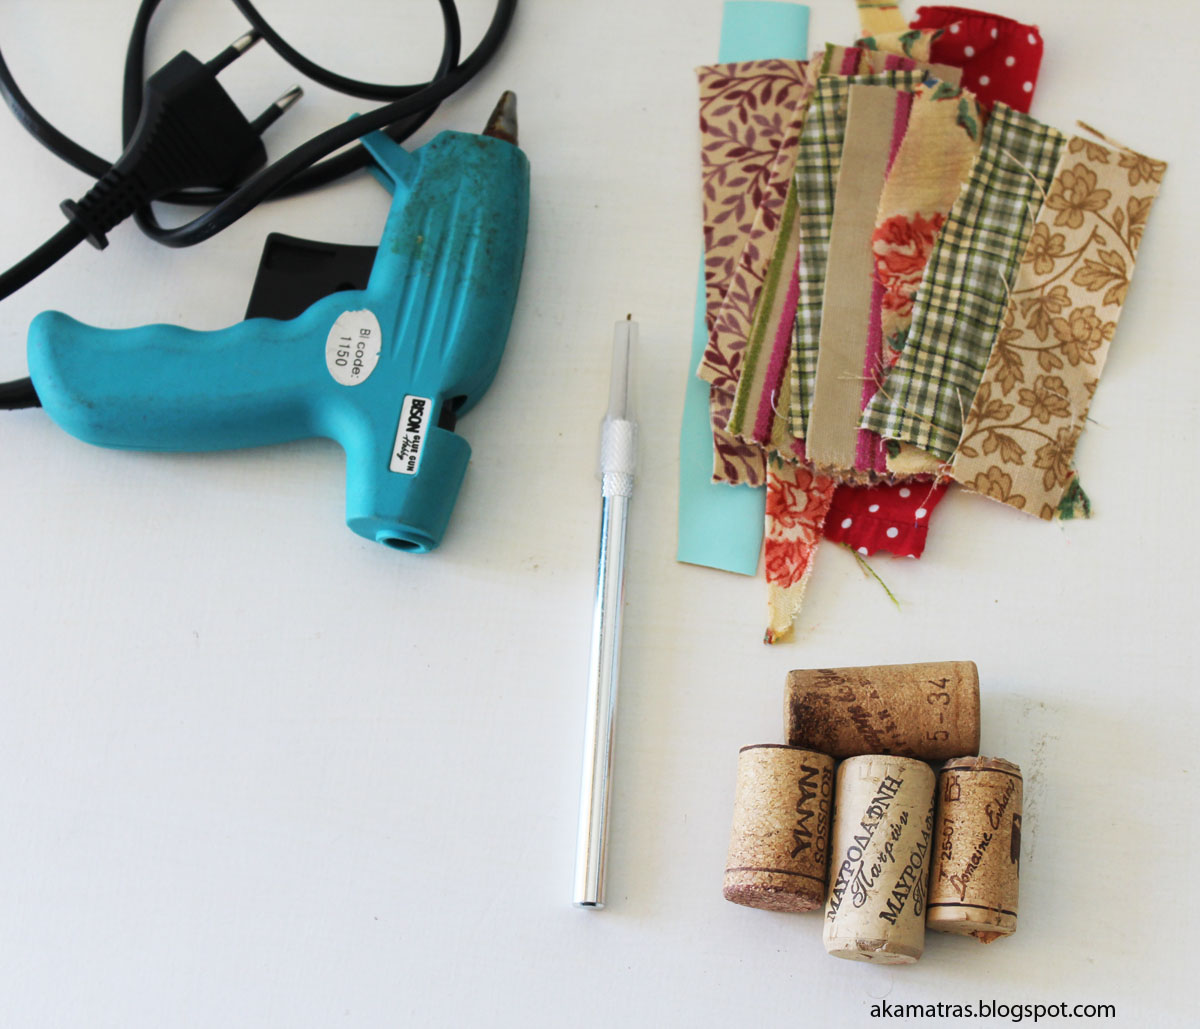
You will also need a sharp chisel, a glue gun and glue, some acrylic paint, an old spoon and of course soil.
Here’s how I did it.
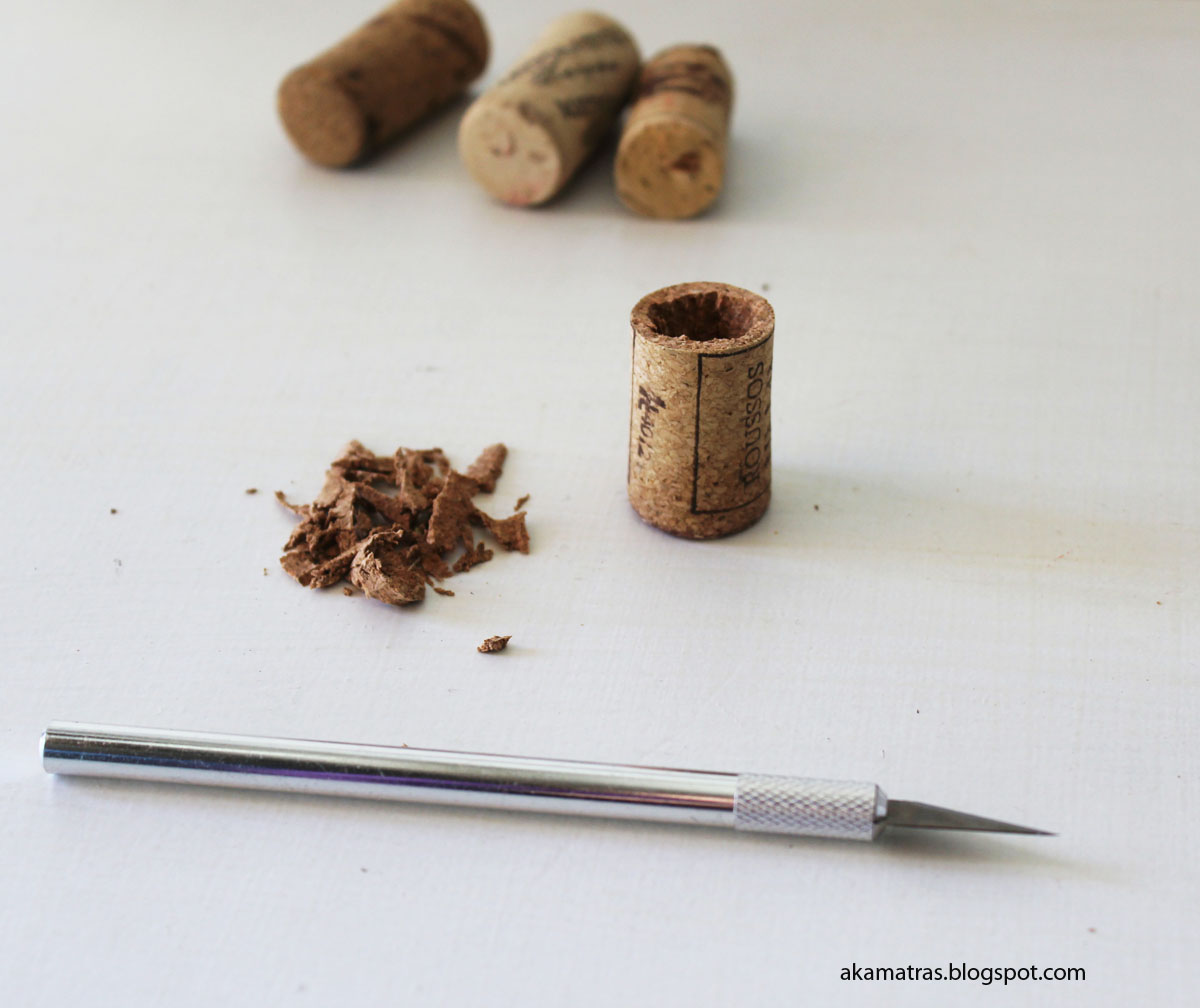
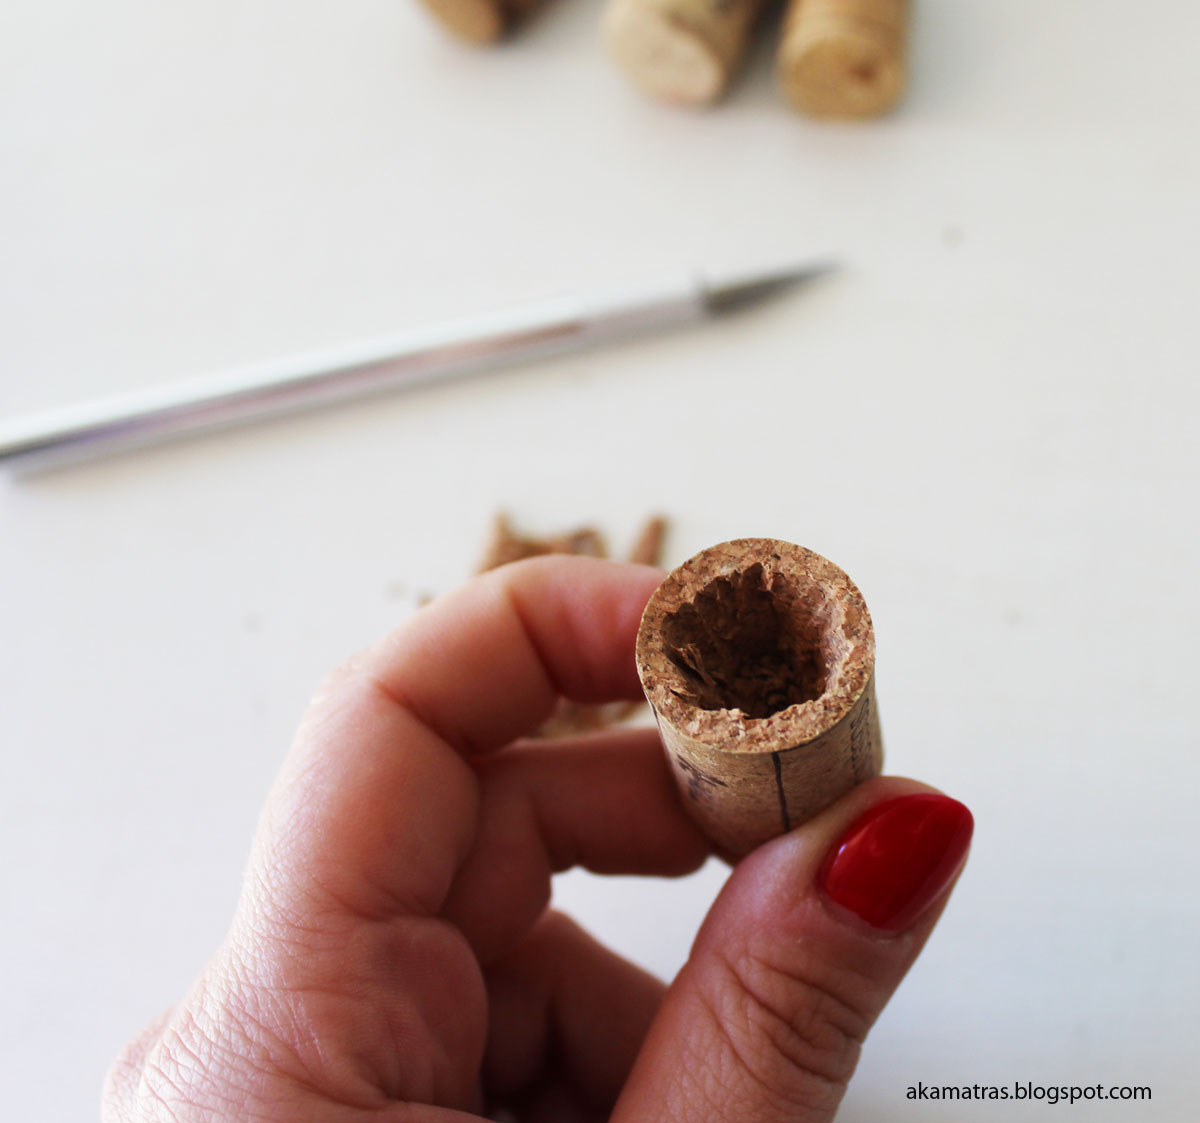
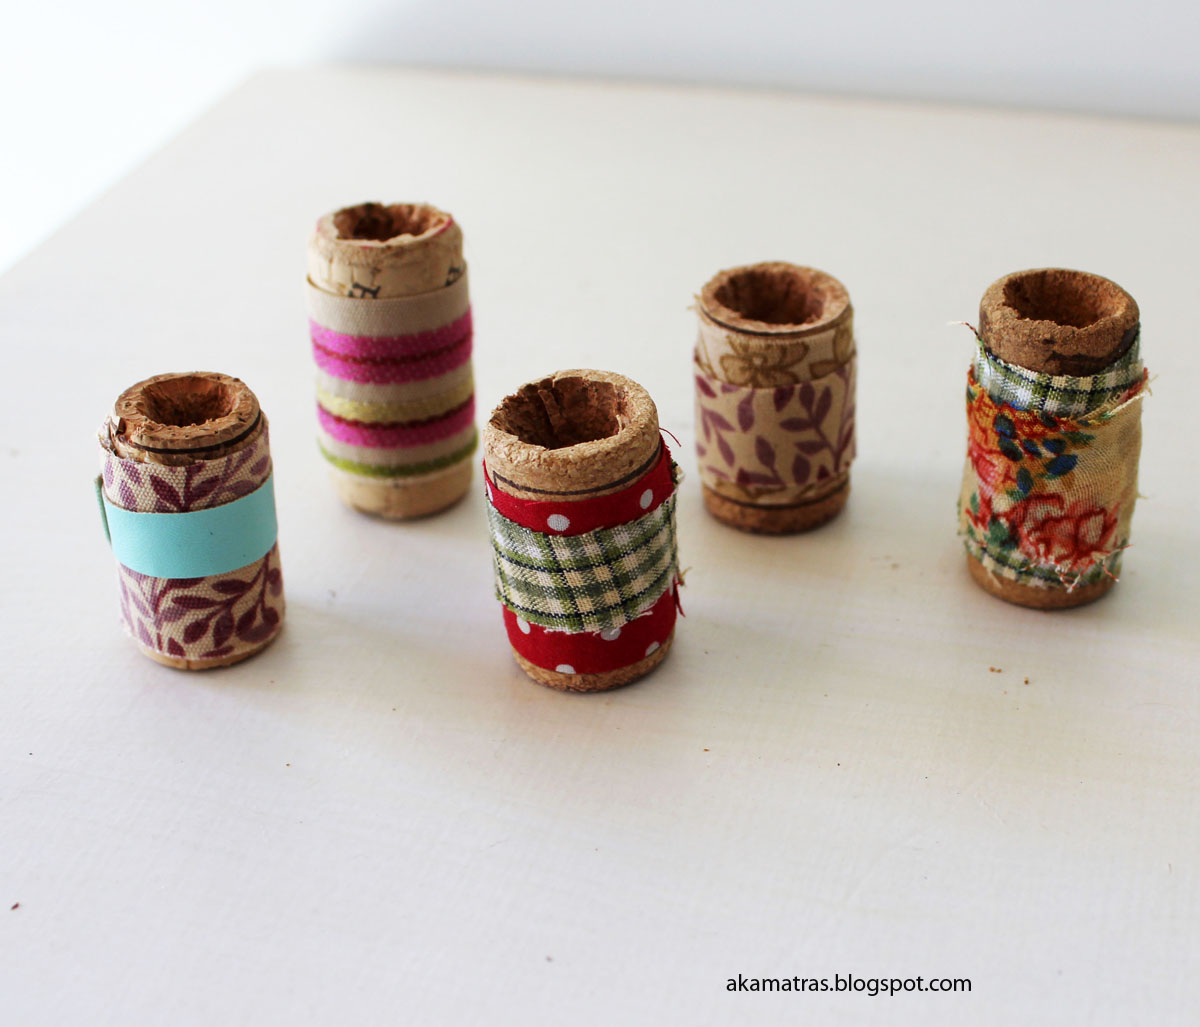
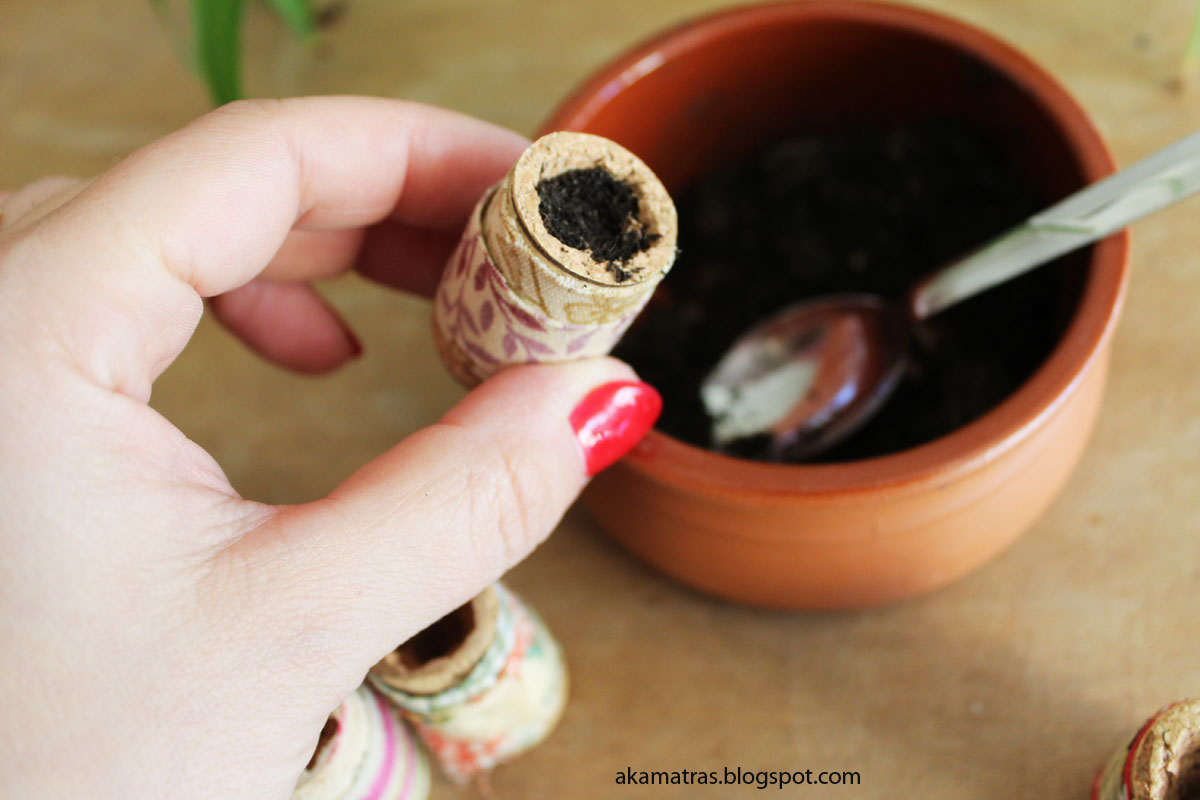
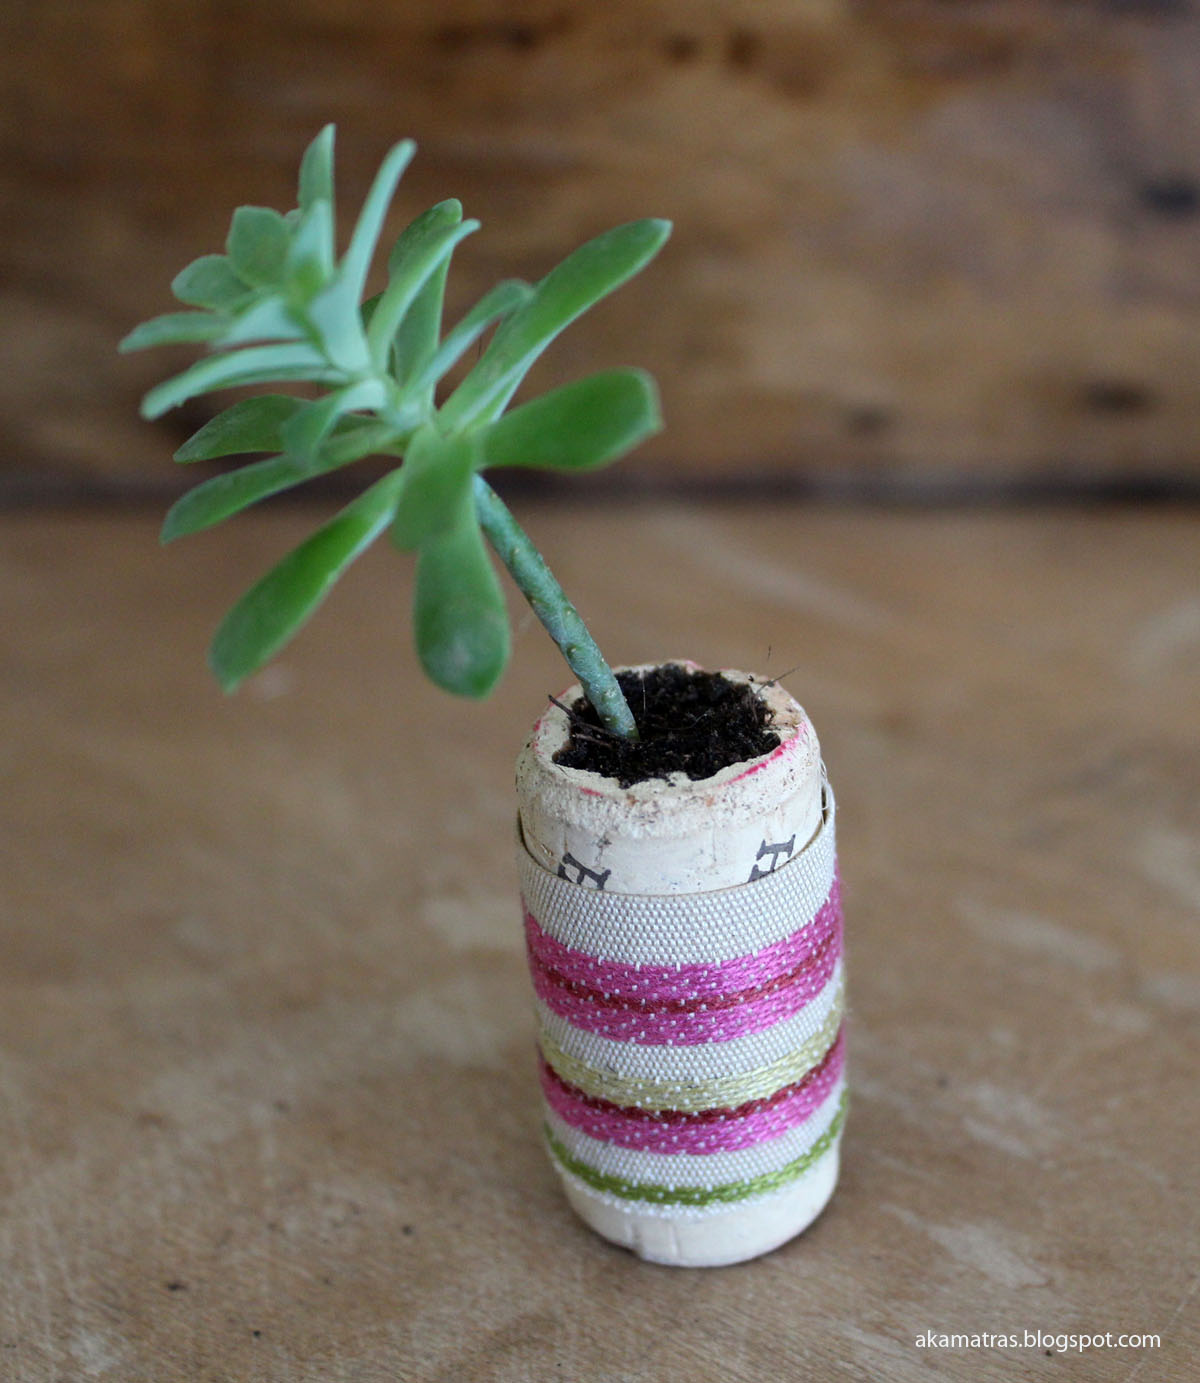
Take your cork and carefully cut a circle on one of his circular sides. The goal here is to gut the cork, not your fingers! So be careful! Easy does it. Make small cuts on the cork and remove pieces slowly. When you reach a depth approximately at the two thirds of the cork, stop. You made it!
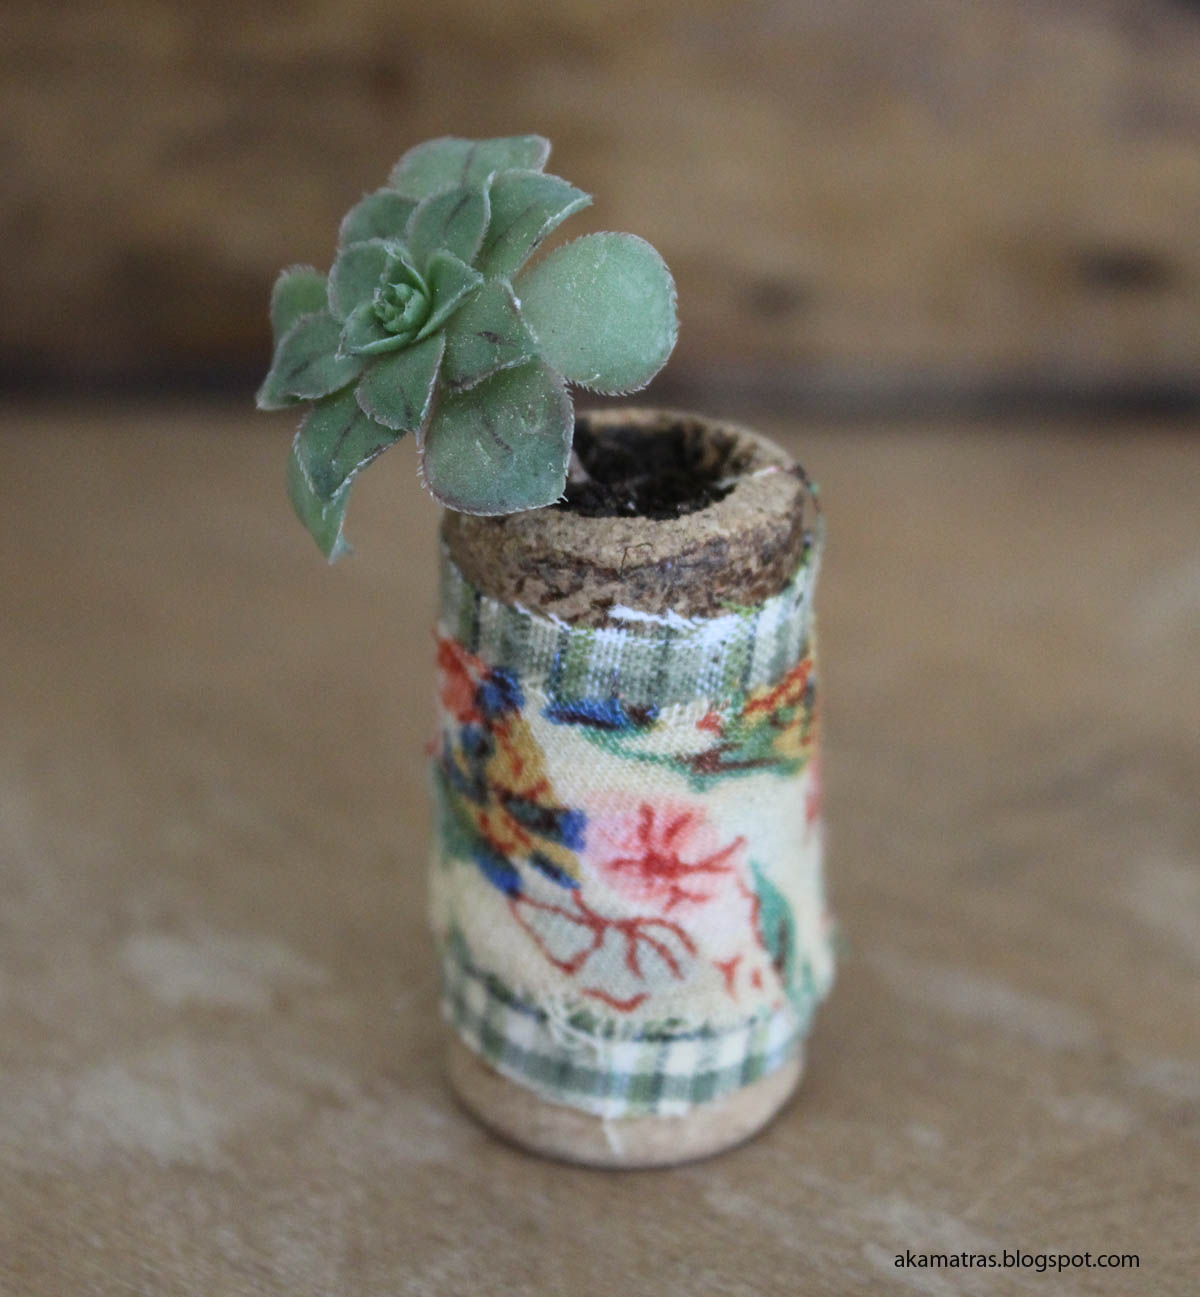
Now take you fabric scraps and cut them to fit the width of your cork. Then cut them to fit its perimeter.
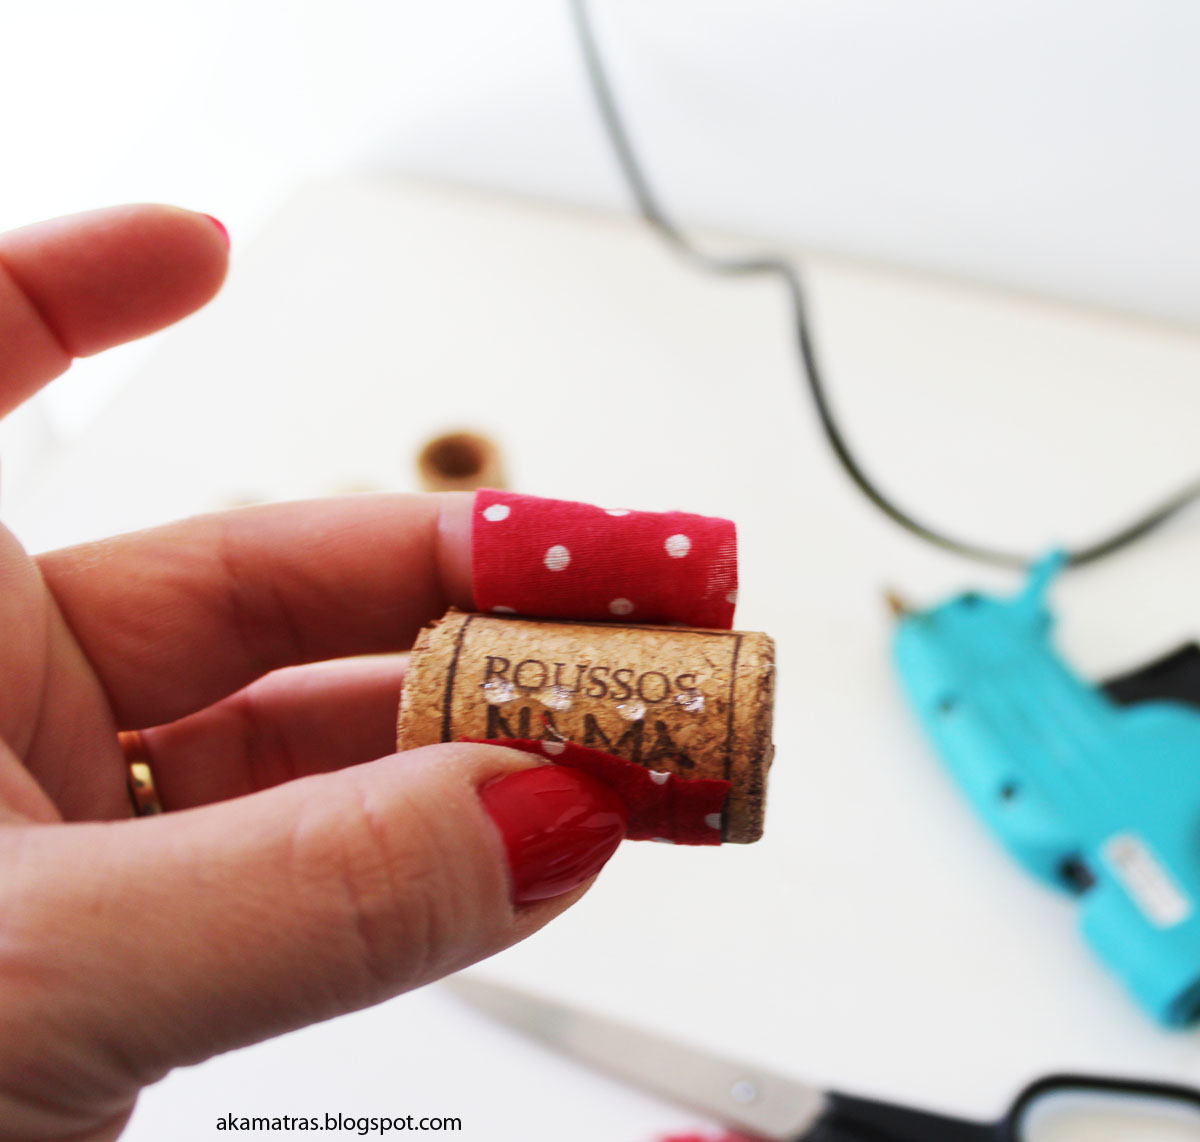
Glue the one end of the fabric and wrap it around the cork (em I feel I am over –describing here, you get the picture right?) and glue it over the other end of the fabric.
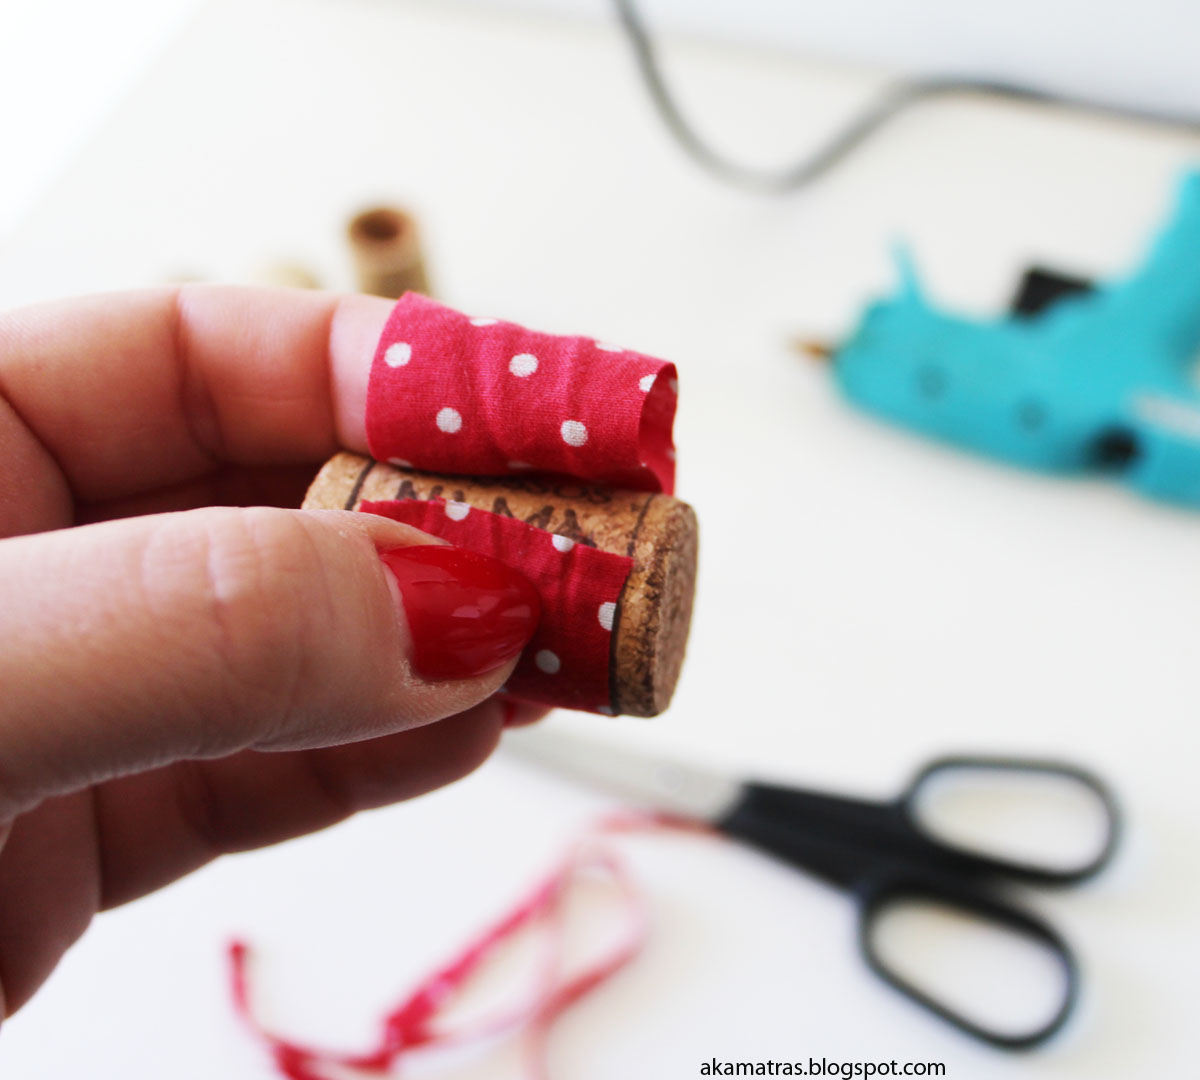
You can add another fabric over the first one just a bit narrower.
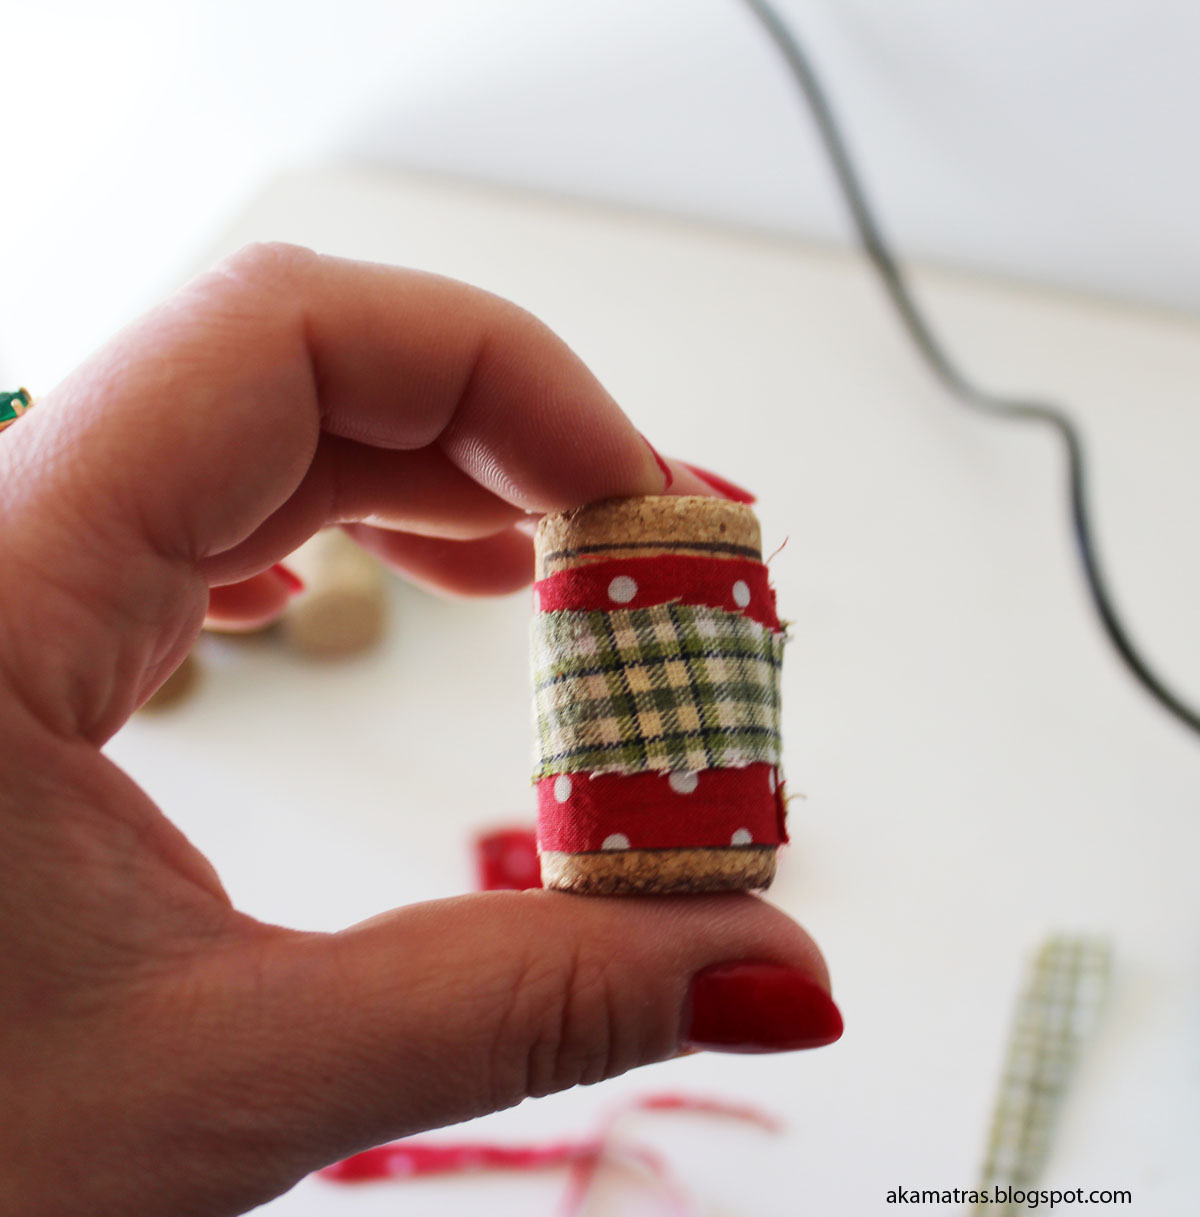
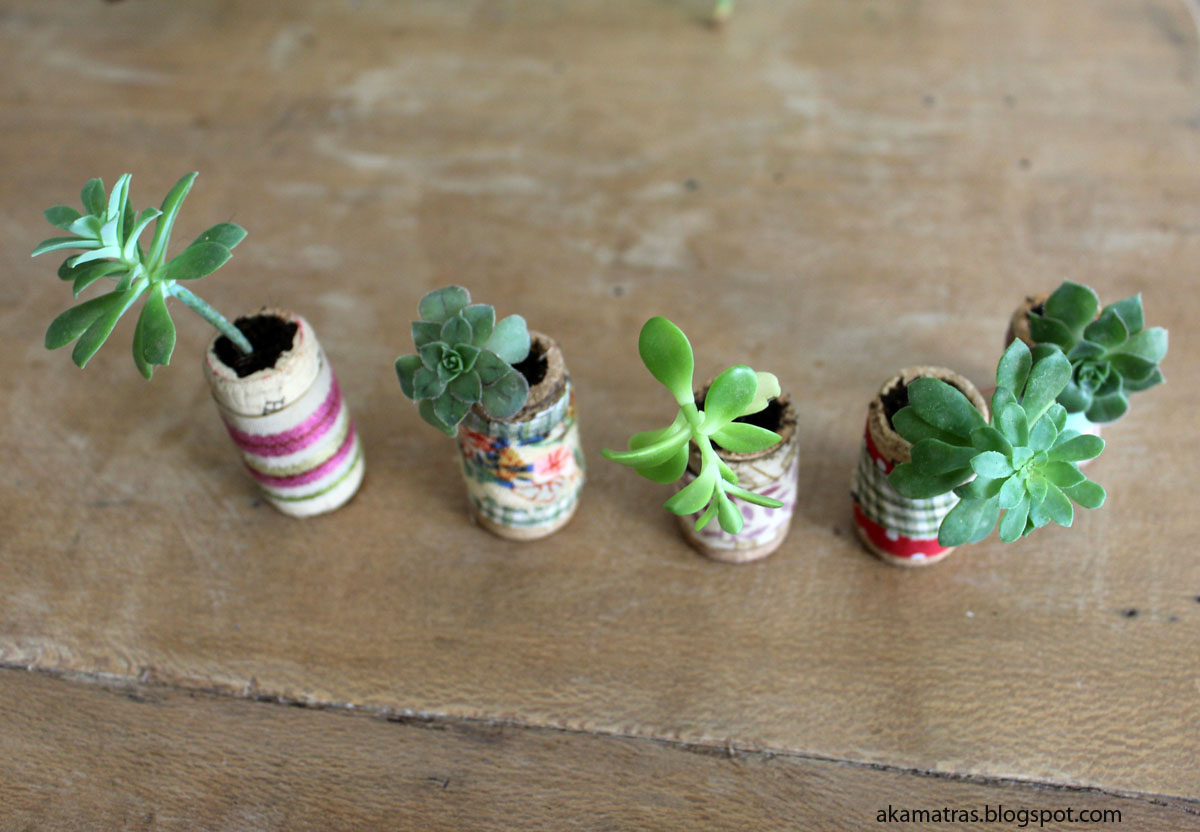
Actually you can do anything you like with your fabric scraps! Play around and make something cute! I made five of them in about 15 minutes. Most of the time was spend gutting the corks.
Now it’s time to fill the planters with soil. This can get messy so take it outside if you prefer. Use your spoon to fill the void in the planter.
Now take your succulent rebellions and give them a new home! Add some drops of water and you are set. Almost.
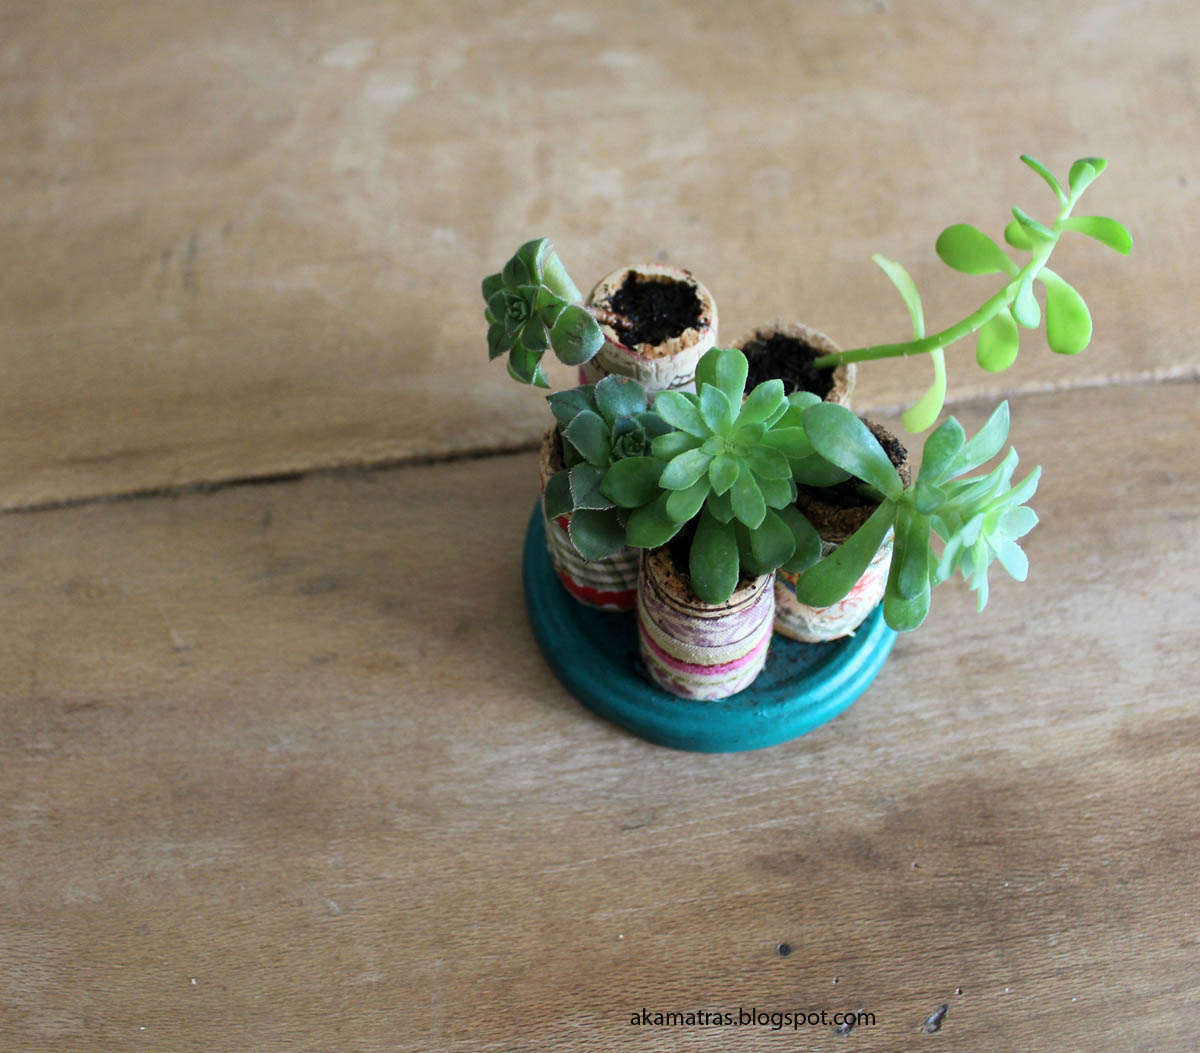
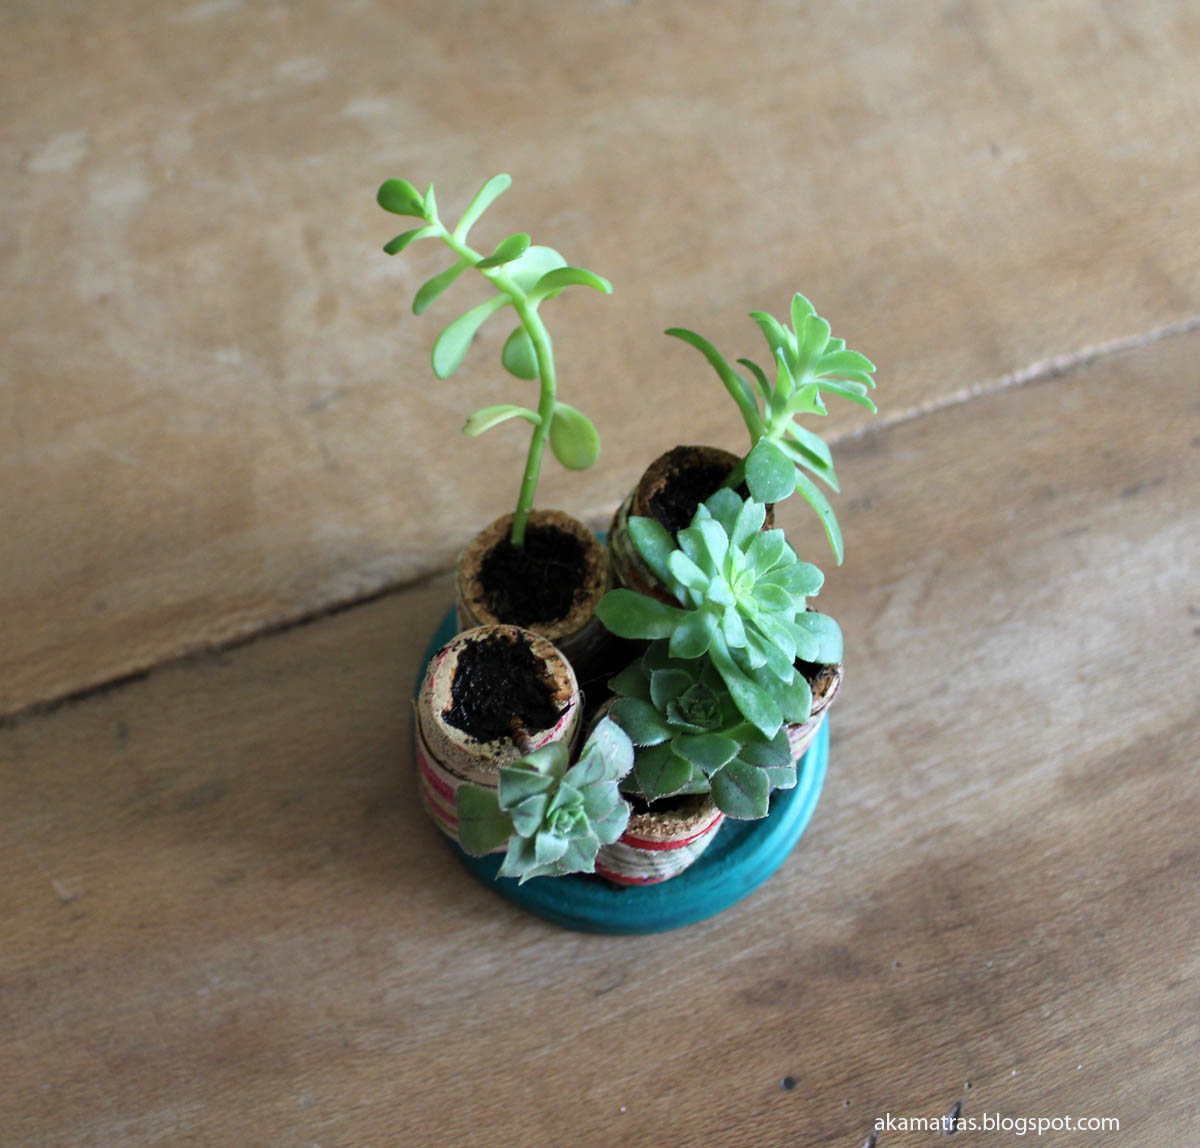
You may choose to leave the planters as they are. I did at first.
But they kept falling down and spilling their guts i.e the soil! Not a great situation to have! So I moved on the to second part of this project. Making a pedestrial for them.
I used one of my many spare lids from my huge collection of glass jars. I painted it green using acrylic paint. Don’t fuss over 100% coverage. You don’t need it since you will be covering the lid with the planters. Just make sure the perimeter of the lid is fully covered.

Note: did you happen to spot what I used as a palette for my paint? Oh yes, your guess is correct! It’s the plastic part of the Belgian chocolates package. It’s perfect for this job and it’s yet another thing to recycle! I am pretty sure you’ve had these chocolates too ;)
Now take your miniature planters and glue them on the lid. Be careful not to spill the soil (you can do this step before adding the soil and planting the succulents).
Now you are done!
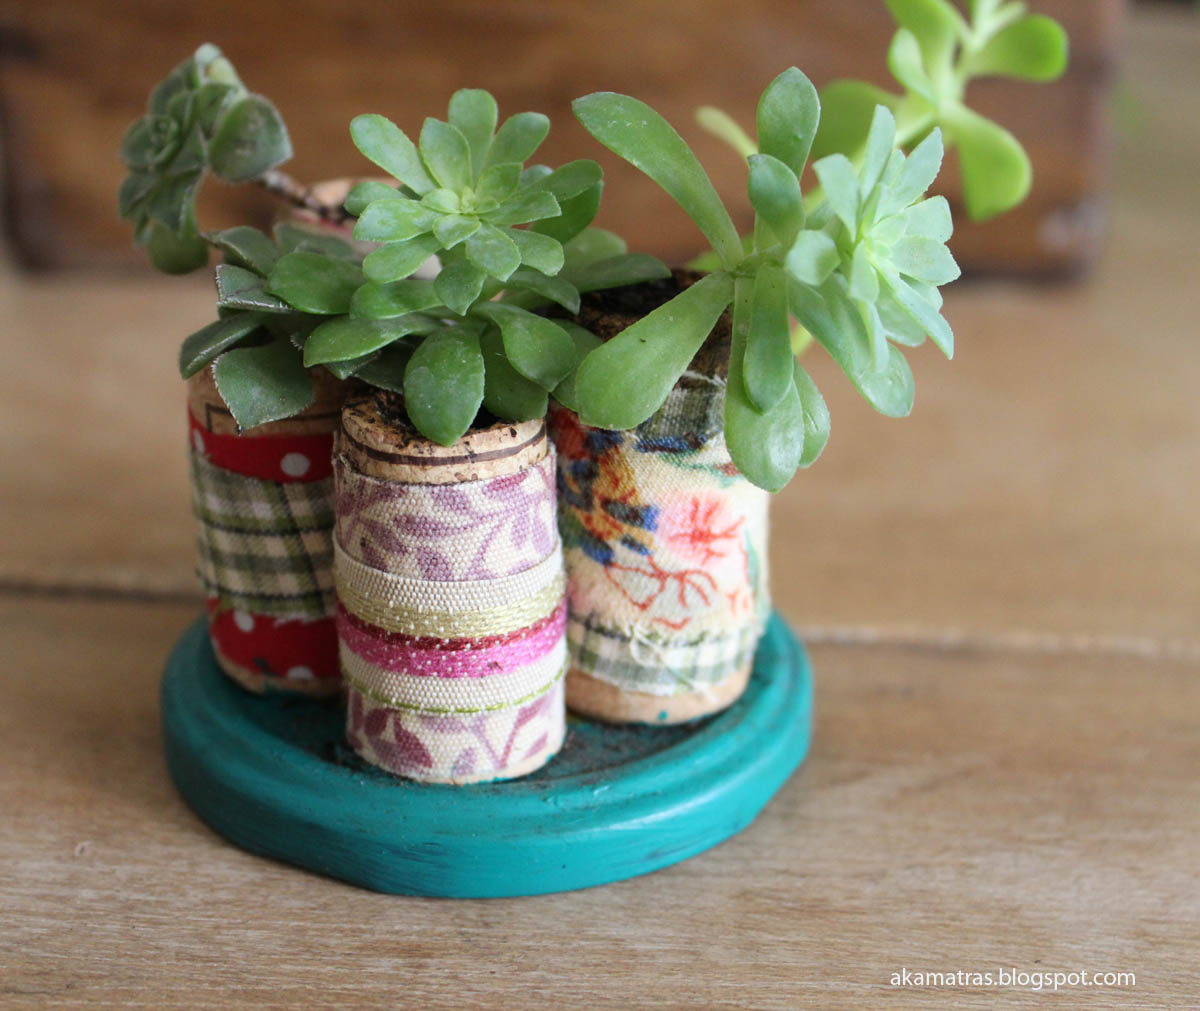
I had a tremendous amount of fun making these cuties! Imagine my joy when my nephew saw them the other day and begun clapping his little hands!!!! Nothing can top a compliment like that!
What do you think? Do you like it?